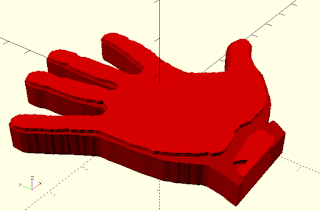
Teneis que extruir y proyectar una imagen, tal como se muestra a continuación.
//logo del centro
// surface() importa imágenes
// Proyecta la imagen
// Presentamos tres capas.
// El logo del centro está en png.
//el fondo del logo está en negro.
// lo que queremos proyectar en color.
//podriamos proyectar el Tajo de Ronda?
for (a = [1, 2, 3])
color([a/6 + 0.5, 0, 0])
linear_extrude(height = a+5, convexity = 10)
projection(cut = true)
translate([0, 0, -30 *a])
surface("logonuevo_n.png", center = true);
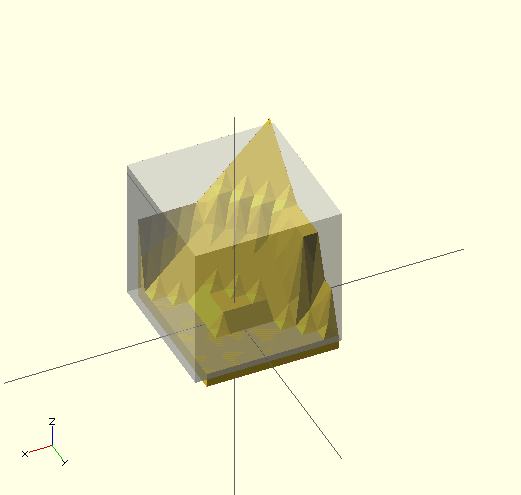
//surface.scad
surface(file = "surface.dat", center = true, convexity = 5);
%translate([0,0,5])cube([10,10,10], center =true);
#surface.dat
10 9 8 7 6 5 5 5 5 5
9 8 7 6 6 4 3 2 1 0
8 7 6 6 4 3 2 1 0 0
7 6 6 4 3 2 1 0 0 0
6 6 4 3 2 1 1 0 0 0
6 6 3 2 1 1 1 0 0 0
6 6 2 1 1 1 1 0 0 0
6 6 1 0 0 0 0 0 0 0
3 1 0 0 0 0 0 0 0 0
3 0 0 0 0 0 0 0 0 0
Resultado
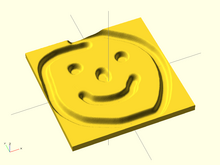
Example 3:
[Note: Requires version 2015.03]
// Example 3a
scale([1, 1, 0.1])
  surface(file = "smiley.png", center = true);
// Example 3b
scale([1, 1, 0.1])
  surface(file = "smiley.png", center = true, invert = true);


